Drywall Repair Guide: Find Local Drywall Services
Drywall Repair Guide: Find Local Drywall Services & Tackle Common Issues

Quickly restoring your room’s look and structural soundness with drywall repair is key. Plus, knowing how to connect with dependable drywall services nearby means you’re covered when DIY isn’t the best route. This guide offers practical solutions for spotting and fixing common drywall problems, choosing the right gear and materials, mastering both basic and advanced repair methods, understanding when to call in a pro, and keeping your surfaces in top shape to ward off future damage. You’ll discover:
The most common types of drywall damage and how to identify them
Step-by-step instructions for fixing small holes, dents, cracks, and water damage
Advanced patching techniques for medium to large holes to achieve seamless results
What to look for when hiring a local drywall contractor and how to estimate repair costs
Preventive measures like using moisture meters, ensuring proper ventilation, and conducting regular inspections
What Are the Most Common Types of Drywall Damage?
Drywall damage encompasses a range of conditions that compromise its surface integrity, appearance, or safety, often due to impacts, moisture, or structural shifts. Understanding these damage categories helps you pick the right repair strategy and avoid repeat issues. Typical examples include holes from doorknobs, cracks from settling, water stains that can lead to mold, popped nail heads, and sagging ceiling panels. Recognizing each type ensures you’re properly prepped for repairs and select suitable preventative measures.
U.S. Department of Housing and Urban Development, Residential Rehabilitation Inspection Guide (2000)
How Do Holes, Cracks, and Nail Pops Affect Drywall?
Small holes and dents can let in moisture and detract from your room’s appearance, while hairline cracks often signal minor movement but can grow larger over time. Nail pops occur when fasteners loosen, potentially causing more cracking around the stud and creating an uneven surface. Addressing these issues early with patching prevents damage from worsening and helps maintain a consistent wall finish.
What Causes Water Damage and Mold on Drywall?
Water infiltration, frequently from leaks in roofs, plumbing, or windows, degrades the gypsum core and paper facings, leading to discolouration, softening, and mold growth. Mold thrives on damp paper backing and airborne spores, accelerating decay and posing health risks. Tackling leaks promptly and replacing affected panels stops mold from spreading and prevents structural weakening.
Centers for Disease Control and Prevention, Mold and Health (2023)
How Can You Identify Structural and Sagging Drywall Issues?
Sagging drywall typically manifests as bulges or dips in ceilings, often caused by improperly installed panels, overloaded rafters, or moisture damage to joists. Structural cracks, especially those wider than 1/8 inch and appearing in corners or around windows, can indicate framing movement or foundation settlement that might need reinforcement or professional assessment before cosmetic fixes.
How Do You Repair Small Drywall Holes and Dents?

Patching nail holes, minor dents, and shallow punctures can restore smooth walls in just minutes using spackle or joint compound. This method is most effective for damage less than ½ inch in diameter.
What Tools and Materials Are Needed for Small Hole Repairs?
Before you start, gather these essential items to ensure your repairs are efficient and long-lasting.
Tool or Material
Spackle or Joint Compound, Putty Knife, Sanding Sponge, Primer, Paint.
Purpose
Fills small voids and smooths the surface, Applies and spreads the compound, Smooths the dried patch, Seals the patched area, Matches the wall color.
Quantity or Specification
One 8-oz container, 2–3″ blade, Fine-grit (220), Small bottle or spray, As needed.
Should You Use Spackle or Joint Compound for Small Repairs?
Spackle dries faster and shrinks less, making it perfect for nail holes and dents under ¼ inch. Joint compound offers better workability for slightly larger dings but requires more drying time. Opt for spackle when speed and ease are priorities; reserve joint compound for repairs that need feathering over a wider area.
What Are the Step-by-Step Instructions to Patch Small Holes?
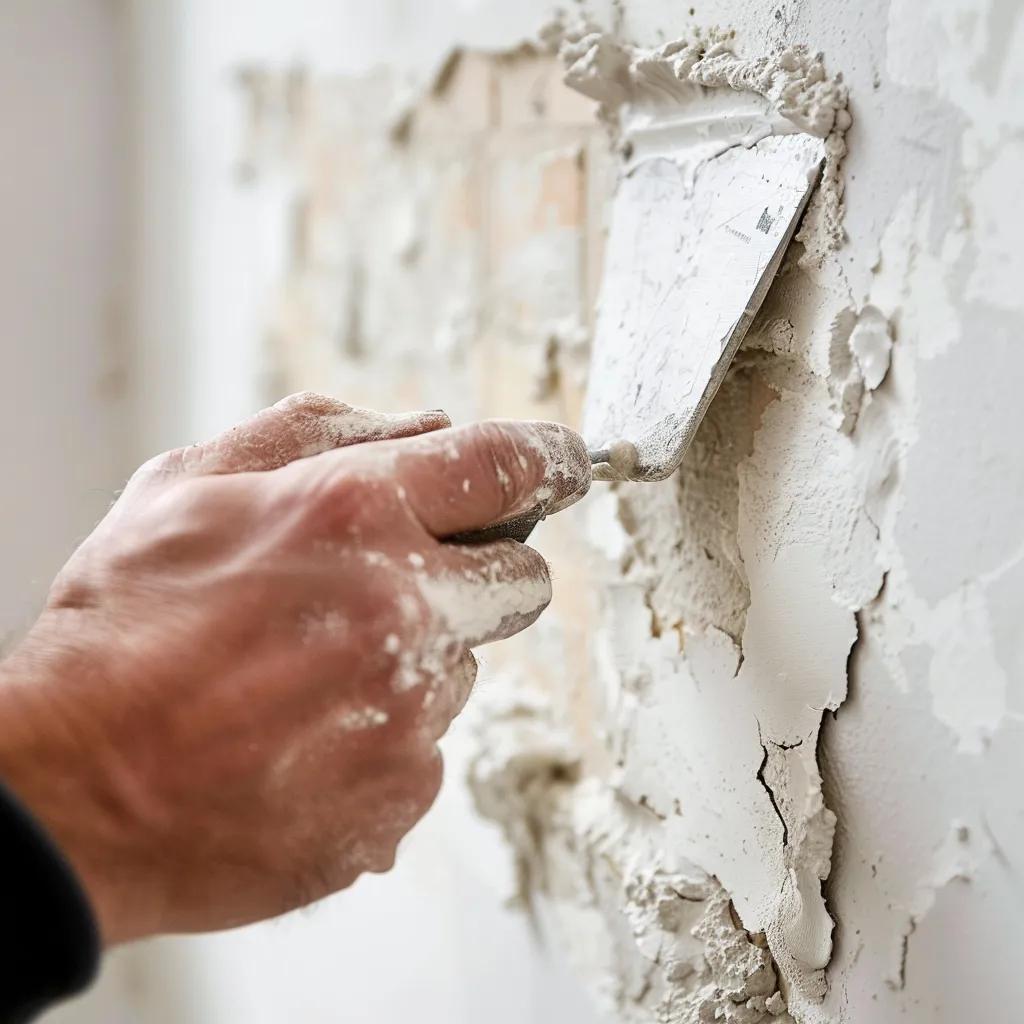
Clean the Area – Use a putty knife to remove any loose debris around the hole.
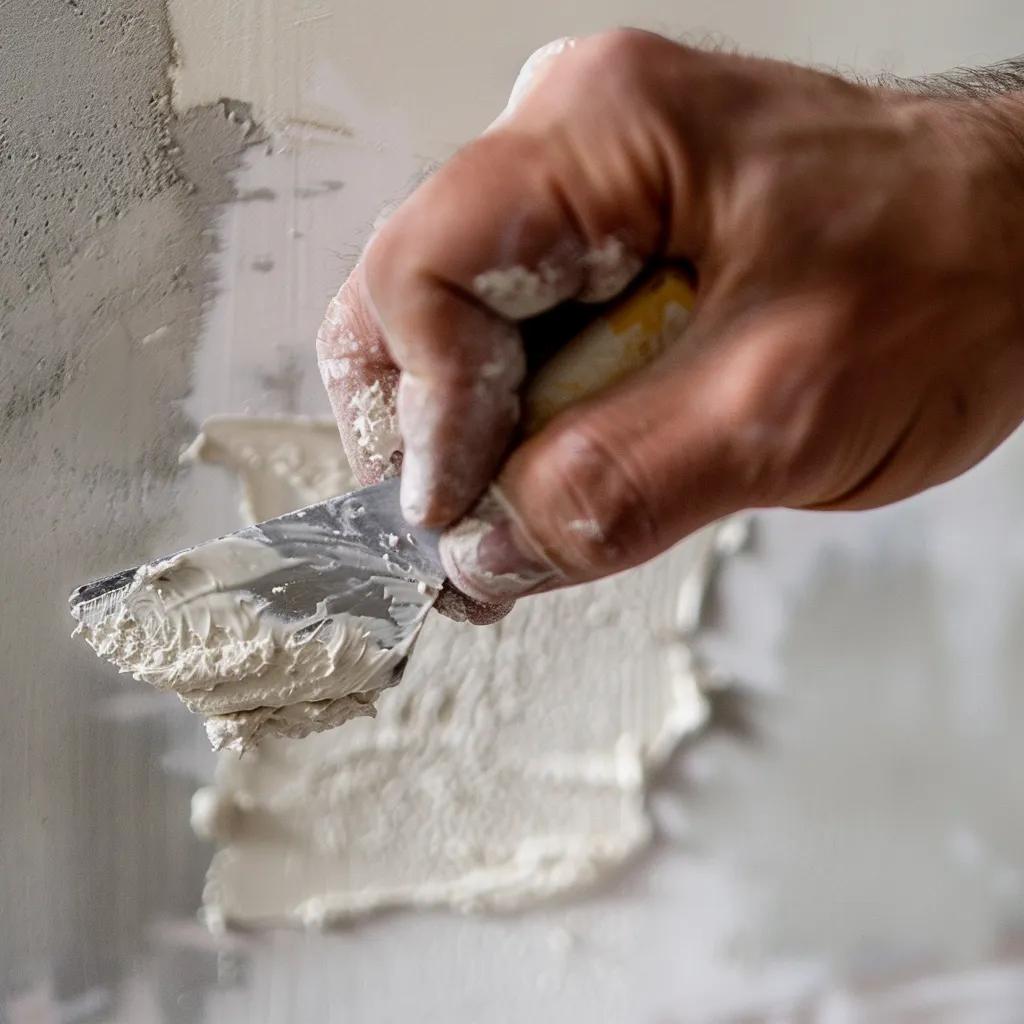
Apply Spackle – Press spackle into the hole with the putty knife, ensuring it’s completely filled.
Feather Edges – Smooth the surrounding area by spreading a thin layer outward, about 1″ from the hole.
Let Dry – Allow the spackle to cure completely (typically 20–30 minutes).
Sand Smooth – Use a fine-grit sanding sponge to level the patch with the surrounding wall.
Prime and Paint – Seal the area with primer, let it dry, then apply matching paint.
Completing these steps will restore a flat, uniform surface, ready for paint or texture.
How Can You Patch Medium to Large Drywall Holes Effectively?

Patching holes larger than ½ inch requires structural support and precise cutting for a stable, seamless repair. Techniques like the California patch or using backing boards provide reliable support and a smooth finish.
What Is the California Patch Method and When Should You Use It?
The California patch utilizes a self-adhesive metal patch with an integrated mesh. It’s ideal for holes up to 6″ wide, as the metal backing prevents bulging and the mesh simplifies mud application. Apply joint compound over the mesh, feathering the edges to blend into the wall.
How Do You Use Backing Boards for Large Drywall Repairs?
For holes larger than 6″ or those with irregular shapes, install a thin wood strip or backing board behind the drywall. Secure the board across the cavity, then screw a drywall patch into it. This creates a sturdy anchor, preventing the patch from shifting and ensuring the repair stays flush with the wall.
What Tools and Supplies Are Essential for Large Hole Repairs?
Item
Drywall Patch, Wood Strip or Furring Strip, Drywall Screws, Mesh Tape or Metal Patch, Joint Compound, Sanding Block.
Function
Fills the structural void, Provides backing behind the hole, Secures the patch to the backing, Prevents cracking at seams, Conceals edges and smooths the surface, Levels the compound without gouging.
Recommendation
Pre-cut panel matching wall thickness, 1″×3″ pine or poplar, #6 × 1″ coarse thread, Fiberglass mesh or metal, All-purpose compound, 120–220 grit
Using these supplies will create a repair that resists future movement and blends seamlessly with adjacent surfaces.
How Do You Fix Drywall Cracks and Prevent Them From Returning?
Drywall cracks often indicate movement or stress, but they can be effectively repaired and reinforced to prevent recurrence. A thorough approach involves identifying the root causes, selecting the right tape, and applying techniques that maintain wall continuity.
What Types of Drywall Tape Are Best for Crack Repairs?
Paper Tape is excellent for inside corners and seams, creating strong, flat joints.
Fiberglass Mesh Tape is ideal for surface cracks and quick repairs due to its self-adhesive nature and resistance to shrinkage.
Paper Taping with Joint Compound offers the strongest reinforcement for high-stress areas.
How Do You Address Underlying Causes of Drywall Cracks?
Cracks frequently stem from house settling, temperature fluctuations, or framing movement. Stabilizing these causes might involve tightening loose screws, adding extra fasteners every 12″ along studs, or reinforcing underlying framing before cosmetic patching.
What Are the Step-by-Step Techniques for Repairing Cracks?
Widen Crack Slightly – Use a utility knife to create a V-shaped groove, which helps the compound adhere better.
Apply Tape – Press mesh tape or embed paper tape into a thin layer of compound along the groove.
First Coat of Mud – Apply a layer of joint compound over the tape, feathering it out about 2″ on each side.
Let Dry and Sand – After 24 hours, lightly sand to remove any ridges.
Second Coat – Apply a wider, thinner coat, extending roughly 4″ from the center line.
Final Sand and Finish – Once completely dry, sand smooth, prime, and paint.
Following this process will eliminate existing cracks and strengthen the repair against future movement.
When Should You Hire a Professional Drywall Contractor Near Me?
Deciding whether to tackle drywall repairs yourself or hire a professional depends on the damage’s complexity, the tools you have, and the quality of finish you desire. An expert brings specialized equipment, advanced techniques, and efficient project management to the job.
What Types of Drywall Repairs Require Professional Expertise?
Structural Cracks wider than 1/8″ that suggest foundation or framing issues
Extensive Water Damage where mold might be present behind panels
Ceiling Panel Replacement that requires safe overhead work and precise taping
Textured or Decorative Finishes (like knockdown or orange peel) that need to match large areas
How Much Does Professional Drywall Repair Cost?
Professional rates vary based on your location and the project’s scope. Here are typical estimates:
Small Patches (<1 sq. ft.): $50–$150 per repair
Medium Holes (1–4 sq. ft.): $150–$300, including finishing
Large Repairs or Ceiling Patches: $300–$800, depending on complexity
Full Panel Replacement: $400–$800 per panel, installed and finished
National Association of Home Builders, Remodeling Cost vs. Value Report (2024)
How Do You Find Reliable Local Drywall Repair Services?
Search for “drywall service near me” and review local business listings.
Check ratings and read customer reviews on trusted platforms.
Ask for proof of insurance, licenses, and references for similar projects.
Request a detailed written estimate that clearly outlines materials, labor, and warranty information.
A systematic vetting process ensures you hire a contractor who completes the work on time and delivers lasting results.
What Are Advanced Drywall Repair Techniques for a Perfect Finish?
Achieving professional-level finishes involves techniques like skim coating, texture matching, and precise sanding to make repaired walls indistinguishable from the original surfaces. Mastering these methods enhances repair quality and prevents visible seams.
How Do You Achieve Smooth Finishes with Skim Coating?
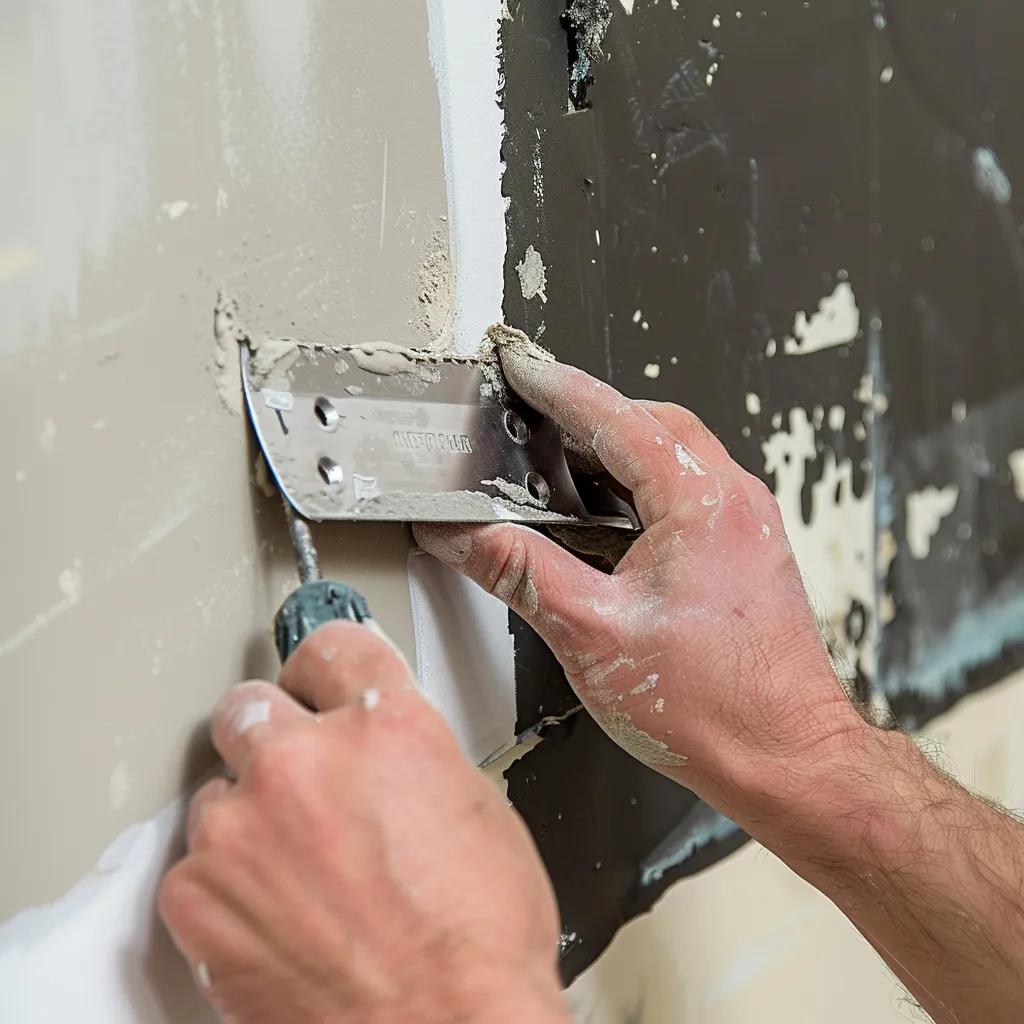
Skim coating involves applying a thin, uniform layer of joint compound over the entire wall or damaged area to eliminate minor imperfections. Use a wide taping knife (10–12″), apply two coats with light sanding between applications, and then prime for a flawless base for paint.
How Can You Match Popular Drywall Textures Like Orange Peel and Knockdown?
Matching existing textures typically involves:
Orange Peel: Spray thinned joint compound using a hopper gun at low pressure, then lightly dab with a knife once it begins to set.
Knockdown: Create splatter patterns with compound at about 60% thickness, let it set for 10–15 minutes, then flatten the peaks with a broad knife.
Always test on scrap drywall first to ensure a consistent pattern and scale before applying to your main wall.
What Tools and Materials Are Needed for Advanced Repairs?
Specialized Item
Function
Specification or Note
Hopper Gun
Sprays consistent texture patterns
Adjustable fan and flow settings
Wide Taping Knives (10–12″)
Smooths skim coat across large areas
Stainless steel blades
Pole Sander
Reaches high walls and ceilings without a ladder
Fine- to medium-grit screens
High-Build Joint Compound
Fills deep gouges and allows for shaping
Lightweight, low-shrink formula
Texture Blending Brushes
Softens the edges of texture for a seamless match
Synthetic, stiff bristles
Having the right equipment makes complex finishes more accessible and efficient.
How Can You Maintain and Prevent Future Drywall Damage?
Proactive care and smart environmental controls can minimize moisture intrusion, cracking, and impact damage, extending the life of your drywall installations.
How Do Drywall Moisture Meters Help Prevent Water Damage?
Moisture meters detect elevated gypsum hydration levels before any visible signs appear. Regularly scanning basement walls, bathroom perimeters, and areas around plumbing fixtures allows for early leak detection and repair, preventing mold growth and panel deterioration.
What Ventilation Practices Reduce Mold and Sagging Risks?
Install exhaust fans in kitchens and bathrooms to remove moist air.
Keep attic vents clear and ensure soffit and ridge vents are functioning correctly.
Use dehumidifiers in damp basements to maintain relative humidity below 60%.
What Routine Inspections Should Homeowners Perform?
Visual Scan – Look for new stains, sagging, or cracks along seams.
Tap Test – Gently tap walls; a hollow sound might indicate delamination or voids behind the panels.
Fastener Check – Inspect for nail or screw pops and tighten or repair them as needed.
Regular maintenance prevents minor issues from escalating into major repair projects.
Drywall repair covers everything from simple patching to structural fixes and professional-grade finishing. By following specific steps, choosing the right materials, and using precise techniques, most damage can be resolved quickly. For complex or widespread problems, hiring a local drywall service ensures safe, code-compliant work. Lastly, consistent inspections, moisture monitoring, and proper ventilation will protect your walls from future damage, preserving both their appearance and durability.
Executive Drywall - 13851 156 St NW, Edmonton, AB T6V 1J1
(587) 407-2882
